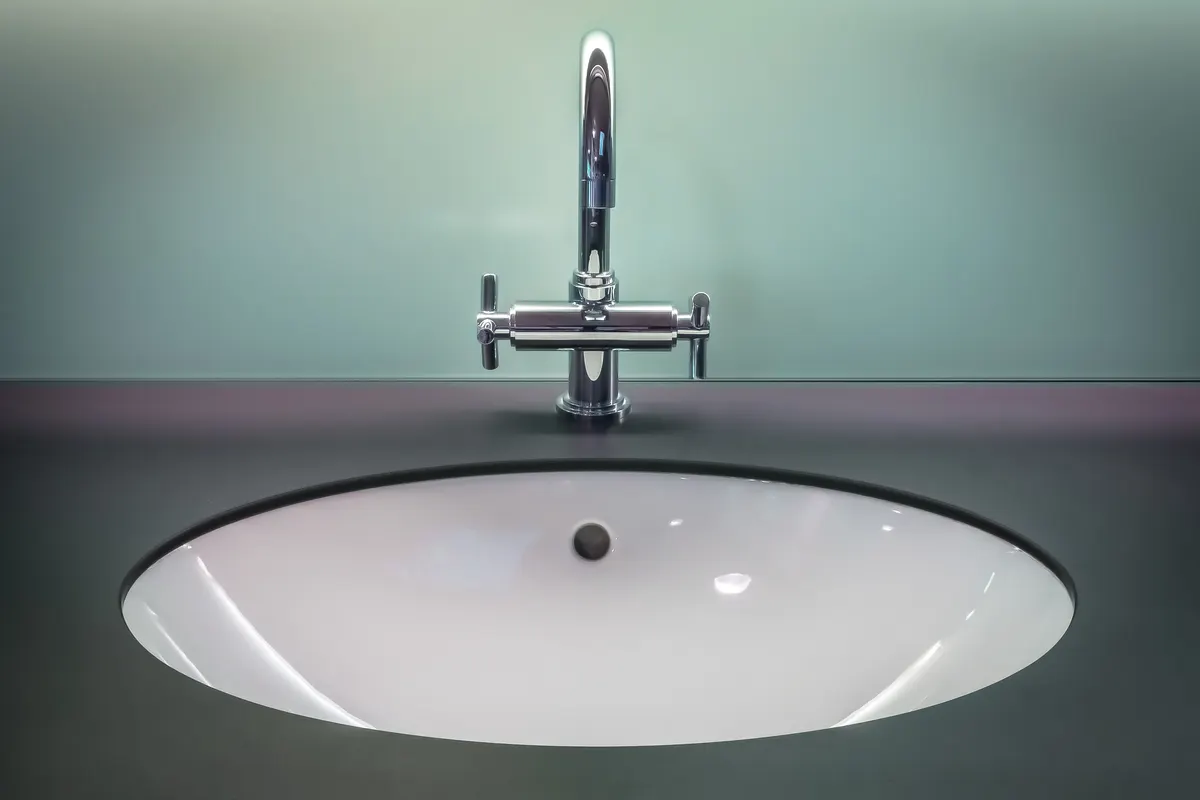
If your tap water smells funky or tastes off, an under-sink water filter is one of the simplest fixes available. It tucks away out of sight and gives you clean drinking water right at the kitchen faucet. If you need whole-home coverage instead, see our guide on how to install a whole house water filter.
The appeal is straightforward: it’s affordable, easy to maintain, and you don’t need a plumber. Understanding point-of-use water filters will help you make the right choice.
An under-sink filter delivers filtered water right next to your regular kitchen faucet, and the installation is more straightforward than you’d think. Here’s how to do it step by step.
Step 1: Provide a Place For The Faucet
Drill a Hole For The Faucet
Check if your sink has a pre-existing hole for a secondary faucet. If not, drill a 1 1/4 inch hole next to the existing faucet for your dedicated filtered water faucet.
In most cases, a newly installed faucet is dedicated, to safe drinking water. Skip to Step 3 if what you’re looking for is an installation guide, for the existing faucet, where the under sink water filter is to be attached.
Drill a hole from the sink, where the dedicated safe drinking water faucet is to be mounted. Oftentimes, other sinks consist of a pre-existing hole right beside the regular faucet.
So observe if you’ve one, to avoid this step.
If a new hole needs to be done, grab the newly bought faucet and decide on which drill bit is to be used. Normally a 1 1/4 inch drill will do.
In deciding where to install the new faucet, you don’t want it to be located away from the existing one. Usually, it resides right next to the existing regular faucet.
Consider The Materials Of The Sink
Since drilling the sink isn’t common to everyone, it’s a bit difficult, especially where inappropriate drilling techniques and drill bit materials are used. If you’re not confident enough in handling these tools, have someone help you in doing this task.
Having a ceramic sink involves a drilling technique called the “Knock out method” or “Diamond Tipped Hole Saw”. However, remember to use an appropriate drill bit size and material.
While having a stainless steel sink is a lot easier, simply preventing the sink from being overheated, by applying lubricant, is a must.
Step 2: Run The Water Line
Mount The Faucet
Allow the waterline through the sink and mount the faucet using the supplied nut. Secure it with washers and nuts underneath the sink. Pull down the line to keep it straight.
Upon drilling the hole, allow the waterline through the sink and mount the faucet appropriately using the nut supplied. Make sure that the faucet is securely attached to the sink.
In most cases, securing the sink involves washers and nuts to be tightly attached underneath the sink. You can use caulk as adhesive when installing the gasket or trim, but always remember to wipe away excess application.
Pull down the line under the sink to keep it straight. Refrain the line from any dust particles to keep it clean for drinking purposes.
If you think any dust entered the line, avoid cleaning them inside, especially if no tools are appropriate. There will be a couple of cycles where water runs to avoid contamination, so any unnecessary polluting particles will be washed off before you’ve the desired safe drinking water.
You might expect to have the line organized and mounted on the wall. However, this isn’t recommended since the line handles water.
Once these lines are attached to walls using adhesive or any mounting techniques, there’s a tendency for the lines to be bent.
Step 3: Shut Off The Cold Water Supply
Turn Off Cold Water
Locate and turn off the cold water shutoff valve under the sink. Make sure the knob is properly turned off to prevent leaks when the tubing is removed.
Installing the under-sink water filter requires safety precautions, to prevent further damages to other items involved in the installation.
Determine the source where the water is being supplied. This is where being familiar with the kitchen, particularly the arrangement of the sink and how the different hardware installed under the sink comes in.
It might get a bit messy, depending on how often the sink is cleaned or how often it’s accessed by anyone. Nevertheless, what is important, is locating the important items such as the source valve.
Which comprises cold-water and hot-water supply, and its corresponding line where the water flows. If you also need hot water filtration, see our article on hot water filters.
What should be shut off is the cold-water supply, simply because this is a source that’s to be cleansed by the filter. As a standard, it’s the usual practice not to filter hot water, as this destroys the filter itself.
Identify and turn off the cold-water shutoff valve. Make sure that the knob is properly turned off, else it could result in leaks, as the tubing is removed from the valve.
Identifying Cold Water
If you’ve any trouble identifying which valve is for cold water, try turning on the hot water supply. This will make it easy to identify the different lines.
The line with the higher temperature is where the hot water shutoff valve is connected. The other line is for cold water.
Step 4: Drain The Cold Water
Drain Residual Water
Turn on the faucet to properly drain the cold water residing in the line. This makes sure there will be no leaks while installing the actual filter.
Turn on the faucet to properly drain the cold water residing in the line. This makes sure that there will be no leaks while installing the actual filter.
When in doubt if the valve was properly turned off, turning on the faucet determines it. If the water continuously runs without draining, check to turn off the cold water shutoff valve.
Use the necessary tools when turning the knobs feels difficult.
Step 5: Disconnect The Tubing Line
Remove The Tubing
When the water is properly drained, remove the tubing line from the shut-off valve by loosening the nuts. Use a wrench and avoid any breakage of material.
When the water is properly drained by turning the faucet on, remove the tubing line from the shut-off valve by loosening the nuts connecting both items. Use a wrench to properly adjust the nuts and slowly detach the tubing line.
Avoid any breakage of material from the valve and the line, since both of these are still to be used, in the installation process. Commonly, you might experience water spilling from the tubing, upon detaching from the valve.
But since you’ve turned on the faucet and properly drained the water from the line, spillage is very minimal.
Wipe Spilled Water Under The Sink
It’s best practice, to wipe off the spilled water when the tubing line is disconnected. This keeps the valves, line, and the entire under sink area clean and avoids awful smell, when the spillage lasts longer.
Use a rag or any cloth in wiping off the excess spilled water. Do another cycle when needed to dry them off.
Step 6: Provide a Place For The Filter
Choose The Mounting Location
Decide where the filter will be mounted under the sink. Make sure there's enough room below the filter for easy cartridge changes and maintenance access.
Decide where the filter is to be mounted under the sink. It’s important that there’s enough room or space below the filter, to easily detach the canister and change the cartridges for maintenance purposes.
How the filter should be mounted under the sink is totally up to individual preferences, but a few considerations might help you decide. It’s necessary to have the filter mounted close to the cold water line to make sure the length of water pipes provided by the manufacturer is sufficient.
Insufficient length of water line will cause installation problems, that’s why the closer the filter is to its source, the better. An inline water filter can be an alternative if space is tight. Oftentimes, mounting the filter involves only a mounting bracket or plates and screws, to attach them to your desired location.
Mark the location by partly screwing them together. When screws are halfway mounted, this gives enough room for adjustment later on.
Remember that the screws will completely be mounted later on while the filter is permanently hung in place.
Step 7: Assemble The Filter
Connect Water Lines
Connect the water to the brass fittings attached to the filter. Use Teflon tape for a reliable seal. Tighten the fitting slowly with a wrench, and never over-tighten.
Since the location for the filter is already marked, temporarily remove it from the place. Check the newly bought filter to see if it consists of the type of supply lines it has.
Most often, it has plastic tubing lines that come within the box.
Connect the water to the brass fittings attached to the filter. Check the water filter O-ring for proper seating. Use a reliable seal like Teflon tape to avoid leaks and malfunctions.
This section, where the brass fittings and lines are connected are often observed upon installation because this is where leaks are found.
A common cause of this is improper installation, by not using the appropriate tape. Tighten the fitting slowly by using a wrench.
Never overly tighten the fitting, as this causes early maintenance and replacement.
Use Flexible Stainless Steel Lines
It’s highly recommended to purchase and use flexible stainless-steel lines, or so-called “flex lines”. Using proper water filter pipe materials makes a big difference. They’re a sturdier material than the usual plastic inside the box and come in different lengths.
Since there are sufficient lengths of this type of material, you can conveniently install the filter on any of your preferred locations. However, buying more lengths of these flex lines is expensive, so the more precise the length, the better.
Step 8: Hang The Filter
Mount The Filter Permanently
Mount the filter to the desired location by fixing the screws fully. Use appropriate screwdrivers and secure the bracket so it can hold the filter weight.
Choose a preferred location to install the filter, while making screw marks under the sink. Mount the filter to the desired location, by fixing the screws fully.
It has to be the ones that are provided by the manufacturer, inside the box.
If you feel a more reliable screw should be used, provide one that uses a stronger material.
Use appropriate screwdrivers, to prevent the screws from being stripped. Gently fix the screws with a right angle and don’t use much force, as the screwdriver should do the job.
Make sure to secure the filter, by making the bracket sturdy enough to hold the filter.
Be sure to confirm that the filter will hold on to the bracket attached to the walls, as it might get non-functional when it suddenly drops. One thing to remember is to prevent the filter from any physical damage, as this could cause leaks along any joint.
Step 9: Connect The Lines
Hook Up The Water Lines
Connect the "in" fitting to the cold water shutoff valve and the "out" fitting to the faucet line. Use appropriate tools to adjust the fittings to avoid leaks.
Connect the flex line that pertains to the “in” fitting to the cold water shutoff valve. Connect the flex line that refers to the “out” fitting to the faucet line.
Don’t be confused about how these lines are to be connected from and to the filter, as signs are shown, for ease of connection. You might want to use appropriate tools in adjusting the fittings, as these joints are key to avoiding leaks.
The lines aren’t to be attached to walls. Let the water run along the lines naturally without any obstruction for easy dispensing from the faucet.
Step 10: Make a Test
Test For Leaks
Turn on the cold water valve and observe all connections. If there are no leaks, the filter is properly installed. Run the faucet for a few minutes to flush the system.
This is probably the most important part of the entire process. Turn on the cold water valve and observe all connections made.
If there are no leaks, then the filter is properly installed under the sink.
Once leaks are found, in any of the critical joints where the ends of each line meet with the corresponding tubing, then turn off the cold-water shutoff valve, immediately. Press the pressure-relief button, to securely pass out trapped air.
Turn on the faucet for a few rounds, to make sure the cleansed water, is now quality safe drinking water.
Make Multiple Cycles Of Turning On The Faucet
It’s highly recommended, to make several tests of turning the faucets off and on. This allows the line to be cleaned, as the water travels through it, with the filter functioning as expected.
Normally a few minutes of cycling will be enough to make the water reach the desired filtered state. As the cycles are made, observe each joint again for leaks. You may also want a kitchen faucet with a built-in water filter for a more integrated solution.
Choosing The Right Under-Sink Water Filter
Different under sink water filters provide different advantages. However, they all serve the same purpose ultimately.
You can choose between several kinds, but the following are most commonly used: reverse osmosis systems, carbon block filters, UV disinfection systems, and multi-stage filtration units.
If you’re a person who loves to camp with an RV, having a portable reverse osmosis system or under-sink filter is a must. It has bacteriostat media that disinfects chemicals, leaving no worries about bacteria from the camping environment.
When dealing with reverse osmosis technology where efficiency is the primary advantage, a countertop reverse osmosis filter or a multi-stage RO filter is the one you should get. It boosts the flavor of the filtered water right to your glass, providing that mineralized taste even when having tea and coffee.
All filters have the purpose of cleansing water for drinking. Learning about water filter cartridge types is necessary to assess and determine, which one suits you.
Frequently Asked Questions
Usually, yes. You'll install a small dedicated faucet right next to your regular one just for filtered water. Check your sink first though, because some already have a spare hole that's perfect for this. Saves you the hassle of drilling.
Absolutely. These are designed with DIY in mind. You'll need a drill, wrench, and screwdriver, that's about it. Just follow the manufacturer's instructions carefully and take your time, especially with the connections.
Plan on every 6 to 12 months for most cartridges. RO membranes are the exception and can last 2 to 3 years. Your water quality and daily usage both play a role, so check the manufacturer's schedule for your specific model.
Definitely not. Hot water can damage the filter media and shorten its life significantly. Always connect to the cold water line only. If you need filtered hot water, filter it cold first and then heat it up.
Final Thoughts
Once you've done it, you'll realize installing an under-sink water filter is way less intimidating than it sounds. The whole thing fits neatly out of sight, and you don't need any special technical knowledge to keep it running.
Having some experience with basic tools helps, but honestly, reading the manual carefully is the most important thing. Every kitchen is a bit different, so expect a little messiness depending on your setup.
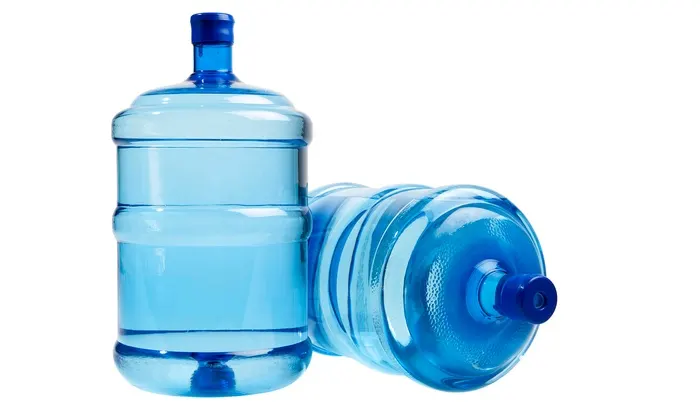
The payoff? Clean, filtered drinking water right at your kitchen tap. No more lugging water bottles home or wondering what's in your tap water.