Whether you’re prepping for an emergency, heading off the grid, or just want a fun science project, building a homemade water filter is a genuinely useful skill. Clean water is non-negotiable for survival, and a DIY filter could be what stands between you and a nasty waterborne illness. If you’d rather buy something portable, a charcoal filter water bottle is worth a look too.
Below, we’ll walk through three proven methods using common, affordable materials. You’ll learn how to build a portable bio filter from a plastic bottle, a large-scale bucket system, and even a homemade ceramic filter.
First though, let’s clear up something that trips a lot of people up: the difference between water filtration and water purification. They’re not the same thing.
Water Purification vs Filtration
Many people use the terms “water purification” and “water filtration” interchangeably, but they actually refer to two different processes. Understanding the distinction is critical before you start building your homemade filter.
Water filtration is the process of removing physical impurities from water by passing it through a filtering medium. This can include sediment, dirt, sand, and larger particles.
A water filter uses materials like sand, gravel, and activated charcoal to physically strain out contaminants as water passes through.
Water purification, on the other hand, goes a step further. Purification removes or kills biological contaminants such as bacteria, viruses, and parasites.
Common purification methods include boiling, UV light treatment, chemical disinfection (chlorine or iodine tablets), and distillation.
The homemade filters in this guide perform filtration, not purification. They’ll remove sediment, improve clarity and taste, and reduce some chemical contaminants.
However, if you’re filtering water from a questionable source (like a pond, river, or floodwater), you should always boil the filtered water for at least one minute or use purification tablets to kill any remaining pathogens.
Method 1: Portable Bio Filter (10 Steps)
This is the most popular and easiest DIY water filter to build. It uses a simple plastic bottle and layered natural materials to filter water through multiple stages.
It’s lightweight, portable, and perfect for camping, hiking, or emergency preparedness. You can also learn how to filter water in the wild using similar techniques.
Materials Needed
- 1 large plastic bottle (2-liter soda bottle works great)
- Fine sand (clean, washed play sand)
- Coarse sand
- Small gravel or pebbles
- Activated charcoal (available at pet stores or aquarium supply shops)
- Cotton balls, coffee filter, or a piece of cloth
- Knife or scissors
- Rubber band or string
- Collection container (jar, cup, or another bottle)
Step 1: Cut the Bottom Off the Bottle
Use a knife or scissors to carefully cut the bottom off the plastic bottle. This creates a funnel shape.
You’ll pour unfiltered water into the wide, open bottom, and filtered water will drip out through the cap end.
Step 2: Create the First Filter Layer
Remove the bottle cap and place a coffee filter, a piece of cloth, or a few cotton balls over the mouth of the bottle. Secure it with a rubber band or string.
This first layer prevents the sand and charcoal from falling out while still allowing water to drip through.
Step 3: Add the Activated Charcoal Layer
Pour a layer of activated charcoal into the bottle, about 2-3 inches deep. Activated charcoal is the most important filtering material in your DIY filter. This is the same principle used in a carbon block water filter.
It works through a process called adsorption, where contaminants chemically bond to the surface of the charcoal as water passes through.
Activated charcoal removes chlorine, sediment, volatile organic compounds (VOCs), and improves both the taste and odor of water.
Step 4: Add the Fine Sand Layer
On top of the activated charcoal, add a layer of fine sand about 2-3 inches deep. Fine sand catches smaller particles that the charcoal misses and provides an additional stage of mechanical filtration.
If you’re using play sand, rinse it thoroughly before adding it to remove any dust.
Step 5: Add the Coarse Sand Layer
Add a 2-3 inch layer of coarse sand on top of the fine sand. Coarse sand filters out medium-sized particles and helps distribute the water evenly across the fine sand layer below, preventing channeling (where water finds a single path through the filter instead of spreading evenly).
Step 6: Add the Gravel Layer
Place a 2-3 inch layer of small gravel or pebbles on top of the coarse sand. The gravel serves as a pre-filter, catching large debris like leaves, twigs, and insects before the water reaches the finer layers.
It also helps distribute incoming water evenly across the filter.
Step 7: Add a Final Gravel Layer (Optional)
For extra filtration, add one more layer of larger gravel or stones on the very top. This topmost layer acts as a preliminary screen for the largest debris and prevents the force of poured water from disturbing the sand layers below.
Step 8: Pre-Rinse the Filter
Before using your filter on water you plan to drink, flush it by pouring several batches of clean water through it. The first few passes will come out grey or cloudy from charcoal dust and fine sediment.
Keep rinsing until the water runs clear. This usually takes 3-5 rinse cycles.
Step 9: Filter Your Water
Hang or prop the bottle upside down (cap end facing down) over your collection container. Slowly pour the water you want to filter into the top of the bottle.
Let gravity pull the water down through each layer. Be patient, as it can take several minutes for the water to pass through all the layers.
Step 10: Collect and Purify
Collect the filtered water in your clean container. If you’re filtering water from a source that may contain bacteria or viruses (river, lake, pond, rainwater), boil the filtered water at a rolling boil for at least one minute (three minutes at altitudes above 6,500 feet).
Alternatively, use water purification tablets following the manufacturer’s instructions.
Your portable bio filter is now ready to use. Replace the filter materials every 2-4 weeks with regular use, or sooner if you notice the flow rate decreasing significantly. If you want a more permanent solution, look into a survival water filter.
Method 2: Large Bio Filter (5 Steps)
If you need to filter larger quantities of water for a family, a homestead, or an extended emergency situation, a large bio filter (also called a biosand filter) is the way to go. For an even simpler charcoal build, see our DIY charcoal water filter guide. This method uses the same layered principle as the portable version but on a much larger scale, using a bucket or barrel.
Materials Needed
- 5-gallon bucket or large barrel with a lid
- Spigot or faucet valve
- Fine sand (several pounds, washed)
- Coarse sand
- Gravel (various sizes)
- Activated charcoal (larger quantity)
- Drill with appropriate bit for spigot
- Food-grade silicone sealant
Step 1: Prepare the Container
Drill a hole near the bottom of the bucket or barrel, about 1-2 inches from the base. Insert the spigot or faucet valve and seal it tightly with food-grade silicone sealant.
Allow the sealant to cure completely (usually 24 hours) before proceeding.
Step 2: Build the Gravel Base
Add a 3-4 inch layer of large gravel to the bottom of the bucket. This creates a drainage layer around the spigot, preventing sand from clogging the outlet.
On top of the large gravel, add a 2-3 inch layer of smaller gravel. This transition layer bridges the gap between the drainage gravel and the sand above.
Step 3: Add the Sand and Charcoal Layers
On top of the gravel, add a 3-4 inch layer of activated charcoal. Then add a 4-6 inch layer of fine sand, followed by a 2-3 inch layer of coarse sand.
Just like the portable filter, you’re building from finest (near the bottom) to coarsest (near the top), with the charcoal providing chemical filtration.
Step 4: Add the Top Gravel Layer and Diffuser
Add a 2-3 inch layer of gravel on top of the sand. Then place a diffuser plate (a flat piece of plastic or a plate with small holes drilled in it) on top of the gravel.
The diffuser makes sure when you pour water in, it spreads evenly across the filter surface instead of creating channels through the sand.
Step 5: Season the Filter
A large bio filter needs to be “seasoned” before it reaches maximum effectiveness. Run water through the filter daily for 2-3 weeks.
During this period, the biological layer develops on the sand surface. The filter improves over time as this bio-layer matures.
After seasoning, a properly maintained biosand filter can remove up to 98% of sediment and significantly reduce bacteria levels.
Method 3: Homemade Ceramic Filter (4 Steps)
Ceramic water filters have been used for centuries around the world. They work similarly to a gravity water filter system. This method uses a purchased ceramic filter candle, which is a porous ceramic element that you install in a simple two-bucket gravity system.
It’s more effective than the bio filter methods and each candle can filter up to 2,500 gallons of water.
Materials Needed
- Ceramic filter candle (available online for around $35)
- 2 food-grade plastic containers or buckets with lids (5-gallon buckets work well)
- Spigot or faucet valve
- Drill with appropriate bits
- Food-grade silicone sealant
Step 1: Prepare the Upper Container
Drill a hole in the bottom of one bucket large enough for the ceramic filter candle’s threaded mount to pass through. This bucket will serve as the upper container where you pour in unfiltered water.
Step 2: Install the Ceramic Filter Candle
Insert the ceramic filter candle through the hole from inside the upper bucket so the threaded end sticks out through the bottom. Secure it with the washer and wing nut that come with the candle.
Apply food-grade silicone sealant around the connection to prevent unfiltered water from leaking past the mount.
Step 3: Prepare the Lower Container
Drill a hole near the bottom of the second bucket and install the spigot or faucet valve. Seal it with food-grade silicone sealant and let it cure for 24 hours.
This lower bucket collects the filtered water, and the spigot lets you dispense it.
Step 4: Assemble and Use
Place the upper bucket (with the filter candle installed) on top of the lower bucket. The ceramic candle should hang down into the lower container.
Pour water into the upper bucket, and it will slowly pass through the ceramic filter candle and drip into the lower bucket. The flow rate will be slow.
This is normal, as the water is being forced through microscopic pores in the ceramic.
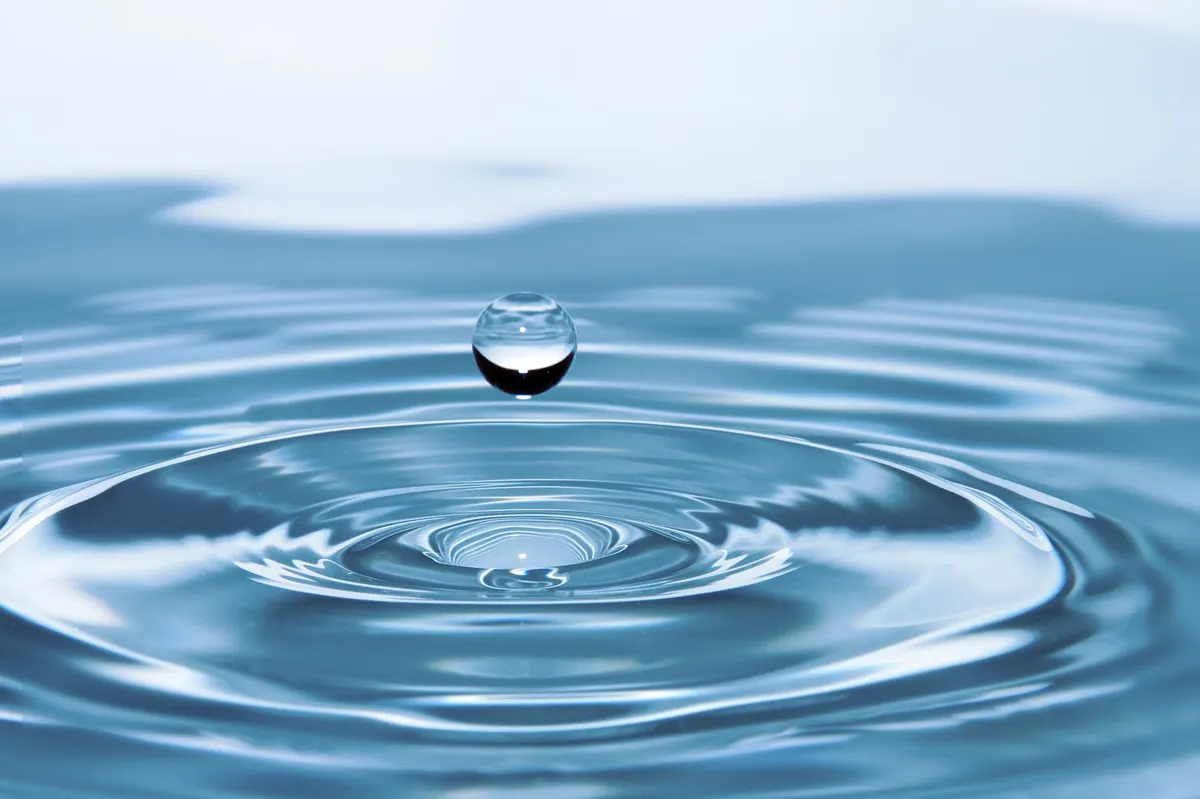
Benefits of Staying Hydrated
Now that you’ve a way to filter your water, let’s talk about why proper hydration matters so much. Drinking enough clean, filtered water each day is one of the simplest things you can do for your health.
Improved energy and brain function. Even mild dehydration (1-2% of body weight) can impair concentration, mood, and memory.
Studies show that staying properly hydrated improves cognitive performance and reduces feelings of fatigue.
Better physical performance. Dehydration reduces endurance, increases fatigue, and makes exercise feel harder.
Athletes can lose 6-10% of their performance capacity when dehydrated.
Filtered water tastes better, which naturally encourages you to drink more.
Healthy digestion. Water is essential for healthy digestion and regular bowel movements.
It helps break down food, absorb nutrients, and keep things moving through your digestive tract.
Kidney health and detoxification. Your kidneys need adequate water to filter waste from the blood and excrete it through urine.
Proper hydration reduces the risk of kidney stones and urinary tract infections.
Joint and muscle support. Water helps lubricate your joints and cushion sensitive tissues.
Staying hydrated can reduce joint pain and muscle cramps, especially during physical activity.
Skin health. While drinking water won’t magically erase wrinkles, proper hydration helps maintain skin elasticity and can improve your complexion over time.
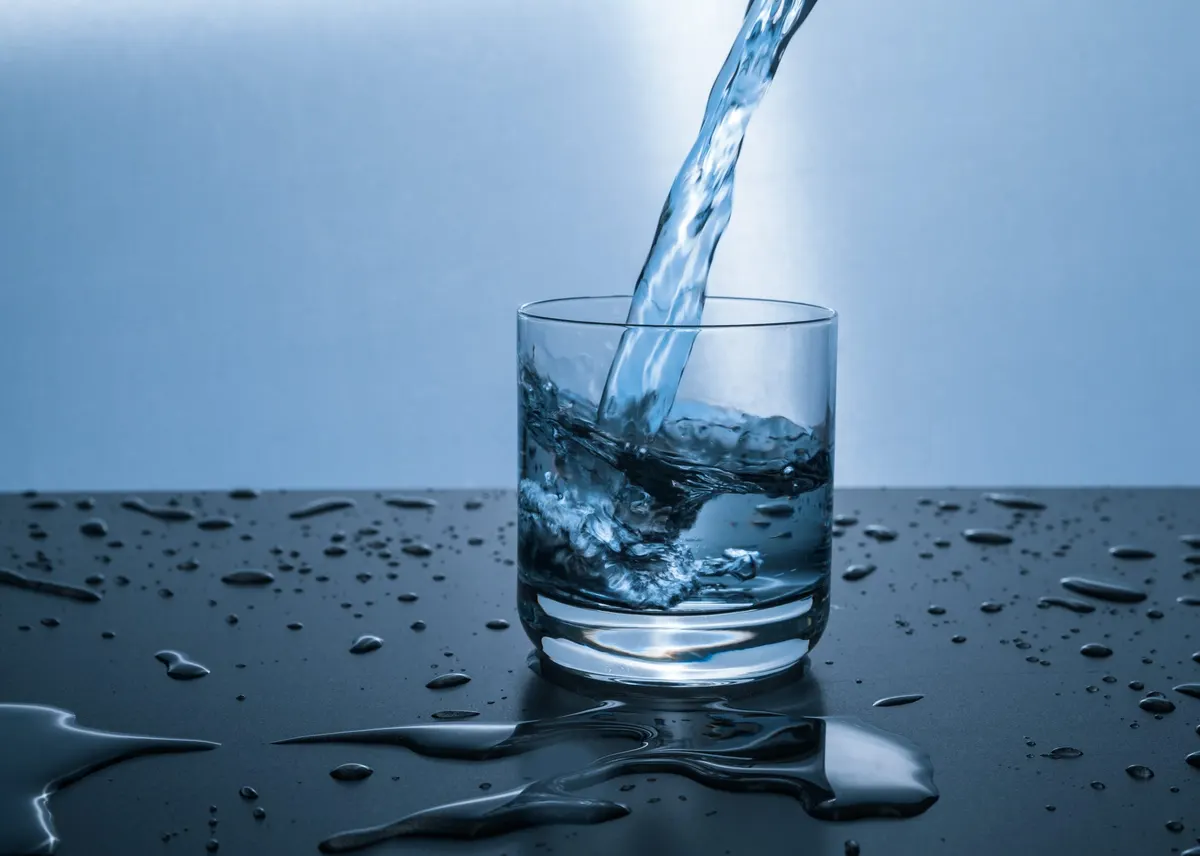
The general recommendation is to drink at least eight 8-ounce glasses of water per day (about 2 liters), though individual needs vary based on body size, activity level, climate, and overall health.
Infused Water Ideas
If plain water doesn’t excite you, infused water is a fantastic way to add flavor without the sugar, calories, or artificial ingredients found in most flavored drinks. Simply add fresh fruits, vegetables, or herbs to a pitcher of filtered water and let it sit in the refrigerator for 2-4 hours.
Here are a few popular infused water combinations to try:
- Lemon and Mint — A classic combination that’s refreshing and aids digestion. Slice one lemon and add a handful of fresh mint leaves to a pitcher of cold water.
- Cucumber and Lime — Cool and crisp, this combination is especially refreshing on hot days. Slice half a cucumber and one lime thinly and add to your water.
- Ginger and Lemon — Warming and invigorating. Slice fresh ginger into thin coins and combine with lemon slices. Great for soothing an upset stomach.
Troubleshooting
Water is flowing too slowly. This usually means your sand layers are too compact or the cotton/cloth at the base is clogged.
Try loosening the bottom filter layer slightly or using a coarser grade of sand.
For bio filters, gently disturb the top layer of sand.
Water coming out is cloudy. If it’s your first time using the filter, this is normal. Run several batches of clean water through first.
If cloudiness persists, your sand may be too coarse or your charcoal layer too thin.
Add more fine sand or increase the charcoal layer.
Water has a grey or black color. This is activated charcoal dust and is harmless.
It means you didn’t pre-rinse the filter enough.
Continue running clean water through until it clears up, usually 3-5 more cycles.
Water tastes odd. If the water tastes earthy or musty, the filter materials may need replacing. Learn how to clean a carbon water filter before discarding it.
Replace the charcoal first, as it has the most impact on taste.
If using natural materials, make sure your sand and gravel were thoroughly washed before assembly.
Filter has a bad smell. This indicates bacterial growth, usually from leaving stagnant water sitting in the filter for too long.
Disassemble, clean, and rebuild the filter with fresh materials.
When not in use, empty the filter completely and allow it to dry.
Flow rate has dropped significantly over time. The filter is doing its job and collecting particles.
For portable bio filters, it’s time to replace the materials.
For large bio filters, gently scrape and replace the top half-inch of sand. You can also explore a bucket water filter for a similar large-scale setup.
Frequently Asked Questions
It'll catch sediment, larger parasites, and some bacteria, but it can't reliably get rid of all bacteria and viruses on its own. If there's any chance your water source has pathogens, boil the filtered water for at least a minute or use purification tablets. Think of it this way: filtration removes particles, purification kills the microscopic stuff.
For the portable bottle version, swap out the sand, gravel, and charcoal every 2-4 weeks if you're using it regularly. A large bio filter can go 1-3 months depending on how dirty your source water is. The telltale signs it's time? Noticeably slower flow or cloudy water coming out the bottom.
Activated charcoal (sometimes called activated carbon) is your MVP. It pulls out chlorine, sediment, and volatile organic compounds while making the water taste and smell much better. Pair it with sand and gravel in layers, and you've got a multi-stage system that tackles everything from big debris to finer contaminants.
It's definitely safer than drinking unfiltered water, but don't treat it as fully purified. DIY filters do a good job with sediment, some chemicals, and larger contaminants — they just can't guarantee they'll catch every harmful bacterium or virus. To be safe, always boil or chemically treat the filtered water before drinking it, especially if it came from a pond, river, or other untreated source.
Final Thoughts
Honestly, knowing how to build a water filter from scratch is one of those skills you hope you never need — but you'll be glad you have. Whether it's for camping, an emergency, or just a weekend project with the kids, the basics are surprisingly simple.
A few things worth remembering:
- Filtration removes particles, but purification kills pathogens. You need both for truly safe drinking water. - Activated charcoal is your best friend — nothing else comes close for improving water quality in a DIY setup. - Layer from fine to coarse (bottom to top) for the best results. - Pre-rinse your filter before using it — the first few batches will look grey. - Replace materials regularly or performance drops off fast.
The portable bio filter is where most people should start — it's quick, cheap, and works well for short-term needs. The large bio filter and ceramic candle setups are better for ongoing use. Either way, it's satisfying to know you can turn questionable water into something cleaner using a few dollars' worth of materials.
Stay hydrated, stay safe, and happy filtering.