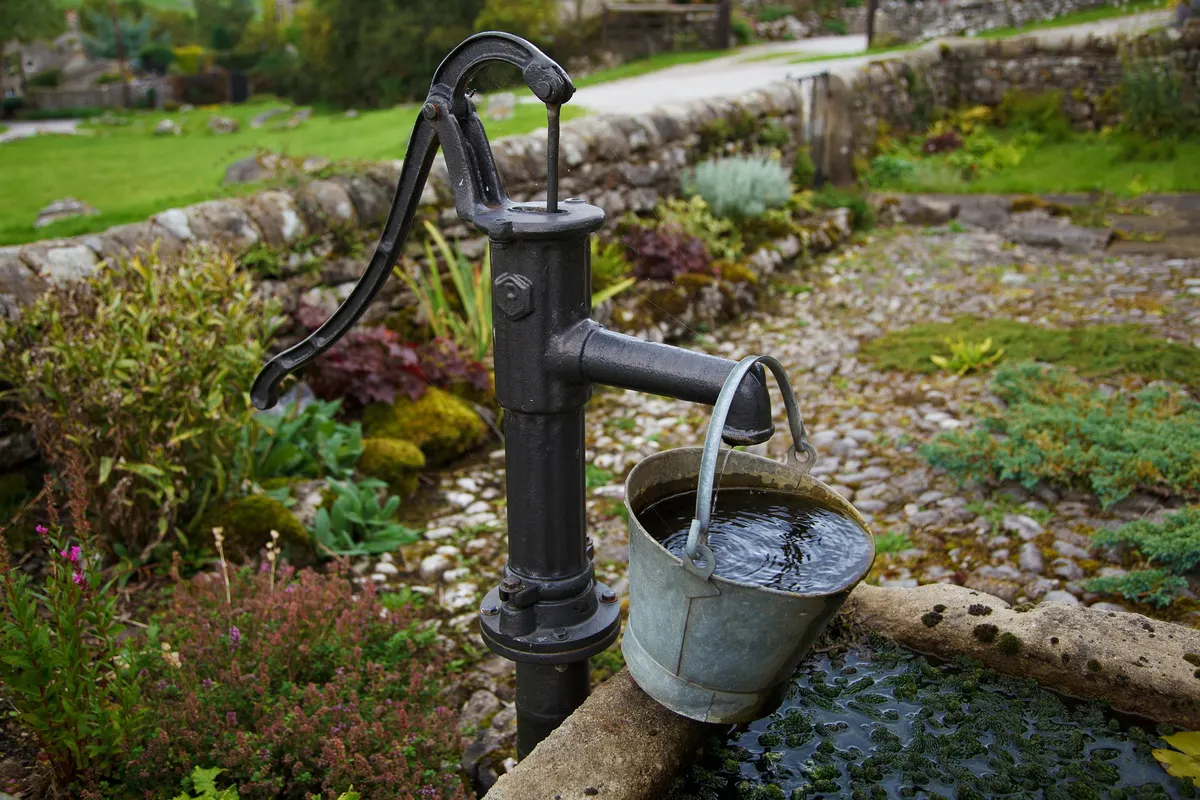
Well water has its perks: no utility bills and no reliance on a water company. But it also means you’re responsible for your own water quality. If you already know how to work with municipal water systems, our guide on how to install a whole house water filter covers the basics.
Well water requires a different approach, and that’s exactly what this guide covers.
The quality of your well water determines which types of filtration your home needs. Always test your water before choosing a filter system. Install the filter near the main water inlet, include a bypass system for easy maintenance, and flush the new system before use.
Where you live and the depth of your well determines the well’s water quality. It’s a great idea for your next DIY project and it’s not as difficult as you might think it’s.
With the right tools and some patience, you should be able to do the setup yourself and get everything up and running in no time. The quality of the water coming from your well determines which types of filtration your home needs.
To install the right whole house filter you should first test your well water.
Installing a Whole-House Water Filter on a Well
Let’s go ahead and get started on our 10-step guide on how to install a whole-house water filter on a well.
But before that, make sure you’ve the following tools and materials:
- Bucket
- Adjustable wrenches
- Pipe cutter
- Fittings
- Shut-off valves
- Drill and drill bits
- Screwdriver
- Tubing
- Teflon tape
- Whole-house water filter kit
Step 1: Choose a Whole-House Water Filter That Works For You
As a good owner, test your water before choosing your filter system. Choosing your filter will depend on the harmful contaminants you find in the result of your test.
You should consider sending your test sample to a lab for full analysis.
So, what did you find in your water test result?
Sediment? A sediment filter would be useful in this case. It will accumulate and remove heavy dirt and debris from your water.
Bacteria and viruses? Consider an Ultraviolet disinfection system. It will disinfect the water from any bacteria, viruses, and microorganisms.
It’s safer and more reliable than chemical disinfection.
Microscopic particles? Small microscopic contaminants are too small to see or even taste. Filtration systems with tiny pores should be used to clear the water.
Reverse Osmosis Systems and Distillation have great particle reduction properties. They reduce the total dissolved solids (TDS) in water to a great extent.
Water with a weird taste and odor? In this case, you should try using Activated Carbon Block Systems. This will filter out the chlorine and massively improve the taste and smell of your water.
Is your water too acidic or too basic? If your water’s pH goes too high or too low on the pH scale, that indicates a problem. Acidic water may be corrosive to your pipeline, while basic water may cause mineral residues and blockage of your plumbing system.
Choose a filter with a buffer system to solve this problem.
Step 2: Find The Perfect Place For Your Water Filter System
Normally, the best spot to install your system would be close to the main inlet of water into the house. This would make sure all water that enters your house would pass through the system and get filtered.
You should consider installing it before or after your water softener or storage tank. Installation isn’t complicated but it requires you to be able to cut the copper supply line and properly install fittings and new lines.
Keep in mind that you’ll need to change the cartridge of your filter from time to time. That’s why you should select a location with enough clearance beneath the filter tank to allow easy removal and reattachment.
In this first step, you should consider outside installation.
Step 3: Turn Off The Main Water Supply
After deciding on the best place for your filter, turn off the main water supply. Then, from the lowest point in the house, open a faucet to release pressure and drain most of the water from the system.
This will decrease the amount of water spilling from the pipes when you cut.
Step 4: Cut The Pipe
Mark your pipe on the places you want to cut. Using a pipe cutter, twist the handle to tighten it onto the pipe so the blade lines up with your mark.
Twist and rotate the cutter around the pipe until it cuts all the way through. This may take some time so be patient with it.
Keep a bucket below the pipe to catch excess spilled water from the pipe after it’s cut. After cutting, make sure to sand the burrs on the freshly cut pipe. If your well water has high sediment, consider adding a water pre-filter to your setup
Step 5: Install Shut Off Valves And Bypass System
A useful addition to the filter installation is a bypass line that allows water to pass to the rest of the system without passing through the filter. The main use of the bypass system is that water supply to the rest of the house doesn’t stop even when you’re changing the filter.
To install a bypass system, you’ll need three valves. Two shut-off valves on either side of the filter.
These will allow water to pass through the installed filter when they’re open.
And one valve on the bypass line that when closed, keeps water from running through the bypass line. When it’s time to change the cartridge on your filter, close the two valves on either side of the filter to isolate it and open the valve on the bypass line.
Step 6: Attach a Piece Of Plywood For Easy Mounting
The many parts of the filtration system are going to need a piece of wood to be mounted on. Use brackets and screws to make sure the pieces stay in place and don’t weigh the pipes down.
This will also give your system a neat and organized look and will make things easy for you when you later need to change any parts of the system.
Step 7: Install The Filtration System According To Manual
The options for filters for your well water are endless, which is why it’s important to know exactly what’s in the water that shouldn’t be flowing to your tap or shower.
Water from a well collects mineral deposits like iron, calcium, or magnesium from aquifers underground. These minerals may not be a health hazard, but they do cause water hardness.
Hard water creates a scale that damages appliances and leaves filmy residue. A water softener or filter can help address this. It makes it difficult to clean and shower with effectively.
Well water could also contain natural but dangerous contaminants like arsenic, nitrates, or bacteria. An iron water filter is often needed for well water as well. A UV system will protect your drinking water from harmful bacteria and viruses.
Types Of Water Filtration Systems
Below are some of the most common types of home filtration systems.
Sediment Filtration is the most common water filtration system and is widely used for basic water treatment. What it does is remove large particles from water and sediments like rust, dust, sand, silt, and heavy metals.
A sediment filter for well water contains pleated polyester with tiny pores ranging in size from 1 to 100 microns. The lower the size of the microns on the filter, the better the filtration, as these pores will filter even smaller contaminants.
So when water flows through a 10-micron filter, all particles larger than 10 microns will be blocked from passing through. This happens until the full surface area of the filter is occupied, and then it’s time to replace the cartridge.
Don’t worry. Cartridge replacement is a very simple process and won’t take more than just a few minutes. You can learn about different water filter cartridge types to find the right replacement.
Sediment filters are sometimes used alone or in combination with other filtration systems.
When used with other filters, it’s employed as a pre-filter to achieve better water treatment. With a low cost and a wide range of microns available, this type of filter is a must in every household.
Activated Carbon Block Filtration (ACB) contains fine carbon powder held together by a strong binding agent. This carbon powder has very high porosity which means high surface area and hence better absorption.
This filter is very effective in removing chlorine taste and odor. Hello, delicious drinking water.
It also removes all kinds of chemicals and contaminants that may be causing your water to smell fishy.
Lead, volatile organic compounds, and microscopic cysts flowing in the water are massively reduced. Almost like the sediment filter, water flows through the pores of the activated carbon, and all contaminants larger than the pores are blocked by adsorbing on the carbon’s surface.
Also, from a scientific point of view, carbon is positively charged. That’s why negatively charged particles like chlorine are attracted to it, and this hugely improves the taste and odor of the water.
Activated Carbon Block Filters come at very affordable prices. With their high performance, they give you a great return on your investment.
Due to their tiny pores, they have very high resistance to bacterial growth. Unfortunately, they can’t remove viruses.
To prolong its lifespan it’s recommended that you use it alongside a Sediment Filter to filter out the larger particles first. It would be great to know that these filters are an amazing green technology.
They need no power supply and there are no chemical additives whatsoever.
Activated Alumina Filtration (AA) uses highly adsorptive aluminum oxide as the filter media. It’s designed to remove selenium, arsenic, thallium, and especially fluoride from water.
Fluoride is a neurotoxin and can be harmful in high doses. A fluoride water filter can address this issue. Excessive exposure can lead to tooth discoloration and bone problems.
The longer the amount of contact time between the water and the activated alumina, the larger the amount of fluoride gets adsorbed. The Activated Alumina Filter has limited contaminant removal and must be used in conjunction with other filter systems like the ones mentioned above.
Reverse Osmosis Filtration offers the strongest filtration against the majority of contaminants in water. It produces the cleanest drinking water by using a semipermeable membrane to separate inorganic contaminants from water.
However, it can’t remove chlorine from water. So you’re going to need to use an Activated Carbon Block filter in conjunction with this one to improve the taste and odor.
High-intensity filtration comes with greater costs like a higher price and a slower filtration rate than other filters. It also produces a large amount of brine at a ratio of 3:1 wastewater to filtered water.
Due to its slow filtration rate, Reverse Osmosis filters usually come with a pressurized tank to store the filtered water for faster administration.
So how does this filter work? Reverse osmosis is the opposite process of osmosis.
It forces particles to move from a higher concentration to a lower concentrated solute through a semipermeable membrane.
The contaminants accumulated on the membrane surface are then flushed away as brine, which prolongs the life of the filter. The pores on the membrane are very small, up to 0.0001 microns, which makes this filtration system very efficient in producing pure drinking water.
With strong filtration, an extra-long lifespan, and low total dissolved solids in the produced water, Reverse Osmosis filters are definitely worth the price. For smaller applications, a countertop reverse osmosis filter is a good option.
Ultraviolet Disinfection (UV) is especially useful because there are usually more microorganisms and bacteria in private well water than in public-supply water. UV light kills 99.99% of microbiological contaminants that may cause sickness, including bacteria, viruses, E. coli, Giardia, Cryptosporidium, protozoa, Coliforms, and infectious Typhoid fever.
This gives you peace of mind when drinking your daily water. Usually, a UV lamp is only used as additional protection on a whole-house filtration system.
It has to be used in combination with filters that remove sediments and chemicals from water. When water passes through the UV lamp, the rays kill or deactivate the microorganism’s cell.
Therefore, the thicker the microorganism’s cell is, the stronger the UV light needed to kill it.
Sediments or contaminants may block the rays from reaching and efficiently killing the microbes. That’s why it’s advised to put the UV light as your last station in your filtration system, after the sediments and contaminants have already been removed.
It’s safe, environmentally friendly, and has very low power consumption. Even though it has a high upfront cost, it has a low operating cost, and it’s definitely worth the peace of mind.
Distillation Filters may be one of the oldest methods of water treatment. It may not be as popular as Reverse Osmosis Systems and Activated Carbon Block, but it still does a good job in producing pure water.
It works by heating the water to its boiling point using electrical energy. Steam produced from the water is then captured and condensed into pure distilled water.
The process of evaporating water and condensing it produces pure water and leaves behind minerals and contaminants.
However, Volatile Organic Compounds are evaporated and condensed with the water because they have a boiling point lower than 100 degrees. This whole evaporation and condensation process may take a while, and it will produce a very low output of pure water.
That’s why the use of Distillation Filters is limited today. On the other hand, this system requires no filter replacement, and the majority of contaminants in the water are removed.
Step 8: Turn The Main Water Supply Back On And Open All Valves Except For The Bypass System
After the filter has been properly installed, slowly turn the main water supply on and check for any leaks on your bypass system. Tighten up any fittings if you detect any leaks.
It’s important to keep in mind that some old houses use water pipes to ground electrical systems. In this case, you must install a jumper wire so the electrical ground may not be interrupted by the filter.
Now close the bypass valve and open both valves on either side of the filter system. The filter tank will fill with water and the water will start filtering.
Check again for any leaks and tighten them up.
Step 9: Flush The New Filtration System
A very important step after installing a new filter system is to flush it for a few minutes. This will remove air, restore water pressure, and remove any old debris or debris from installation. Watch for any pressure drop issues during this step.
Try flushing your system with chlorine to sanitize your household pipes. Particles and bacteria may have made their way into your pipes during installation.
This final chlorine rinse will remove the particles and clear the water.
Make sure to remove your filter from their housings when flushing your system. Keeping your filters on when flushing will only filter out the chlorine and there would be no use of this step.
Step 10: Change The Filter As Needed
Congratulations. Your whole-house filtration system is now set up and now you can enjoy clean water for drinking, cooking, and showering.
Your system needs good maintenance to make sure you’ve clean water that’s safe to use in your house. A spin down water filter as a pre-filter can extend the life of your main filters. The different filters installed in your system have different life spans, and some parts may need to be replaced at different times.
Replacing the parts is way easier than installing them. Whenever you need to replace or change any filter, make sure to close the shut-off valves on your filter and open your bypass system.
Frequently Asked Questions
The main types are sediment filters, activated carbon block, activated alumina, reverse osmosis, distillation, and UV disinfection. They each go after different contaminants, which is exactly why testing your water first matters so much. It tells you which system will actually solve your problem.
You're aiming for around 7.5, which is right in the neutral sweet spot. Too acidic and it'll corrode your plumbing over time. Too basic and you'll get mineral deposits building up inside your pipes, eventually causing blockages.
It matters more than you might think. Reputable brands tend to use better materials and offer reliable customer support. Yes, they cost more upfront, but you're investing in something that affects your family's health every single day. Cheaper off-brand systems can create more problems than they solve.
It varies quite a bit. RO filters can go up to 3 years thanks to their self-washing mechanism, while sediment filters might only last 3 to 12 months depending on how much water your family uses. Check your manufacturer's guidelines for specifics.
Budget anywhere from $300 to $1,000 for a complete system, depending on the brand and what types of filtration you need. More advanced multi-stage setups will cost more, but a basic sediment and carbon filter combo is very affordable.
If you're on well water, absolutely. Unlike municipal water, well water doesn't go through a treatment plant, so you're your own first line of defense. The peace of mind alone is worth it, not to mention the actual health protection.
After the pressure tank. If you put it before the tank, the filter won't be able to backwash properly, which means it'll clog up faster and won't work as efficiently.
Final Thoughts
A whole-house filter on your well does two things at once: it makes the water taste noticeably better and removes contaminants you don't want to be drinking. No more sediment, no more funky odors.
Is the installation a quick weekend project? It can be, as long as you follow the steps and actually read your system's manual. Take your time with the pipe cuts and fittings, double-check for leaks, and you'll be set.
Once it's running, you'll wonder how you went so long without filtered water at every tap.