Your fridge filter quietly does a lot of heavy lifting — removing chlorine, lead, and other contaminants from every glass of water and ice cube you make. But it can only do that job if you replace it on schedule. If you want to understand how well refrigerator water filters work, we have a detailed guide.
Most Frigidaire filters need swapping every six months or so. Push past that and you’ll start noticing changes in taste, flow rate, and overall water quality. Aging water infrastructure means your tap water often carries more contaminants than you’d expect, and your fridge filter is the last line of defense. See our picks for the best water filters for lead removal.
The good news? Replacing it is genuinely easy. No plumber, no special tools for most models, and the whole process takes about 15 minutes. Here’s how to do it step by step. Learn more about the dangers of not changing your refrigerator water filter.
Replacing your Frigidaire water filter is straightforward and takes about 15 minutes. The most important steps are turning off the ice maker first, flushing 3-5 gallons through the new filter before use, and resetting the filter timer so it tracks the new filter's lifespan.
Here are the steps on how to replace your Frigidaire water filter.
Step 1. Switch Off The Ice Maker
You’ve to shut off the ice maker before replacing the Frigidaire refrigerator water container. In the Frigidaire qualified refrigerator collection, you can turn off by raising the metal arm inside the freezer ice cup.
You should then uninstall the old water filter after shutting it off.
For the models with switches, aim for an ice maker button at the end, if you see one just flip it to the “off” position. There might be an on/off toggle option for GE mechanical ice makers.
The “I” is for on, so there would be a bright screen, set the control button to “O” for off to shut it off.
If an on/off slide switch is installed, you turn it off by sliding the switch so that the paddle is under the icemaker. For the models without a switch, gently lift the metal sensor arm on the side of the ice maker to the up position to turn off the unit when no switch is present.
For the models without a switch or metal sensor arm, when you don’t see a switch or arm on your ice maker, you’ll need to press multiple buttons in a particular series to shut off the gadget. For guidelines on how to do so, refer to your owner’s manual or the manufacturer’s website.
Step 2. Trace The Old Filter
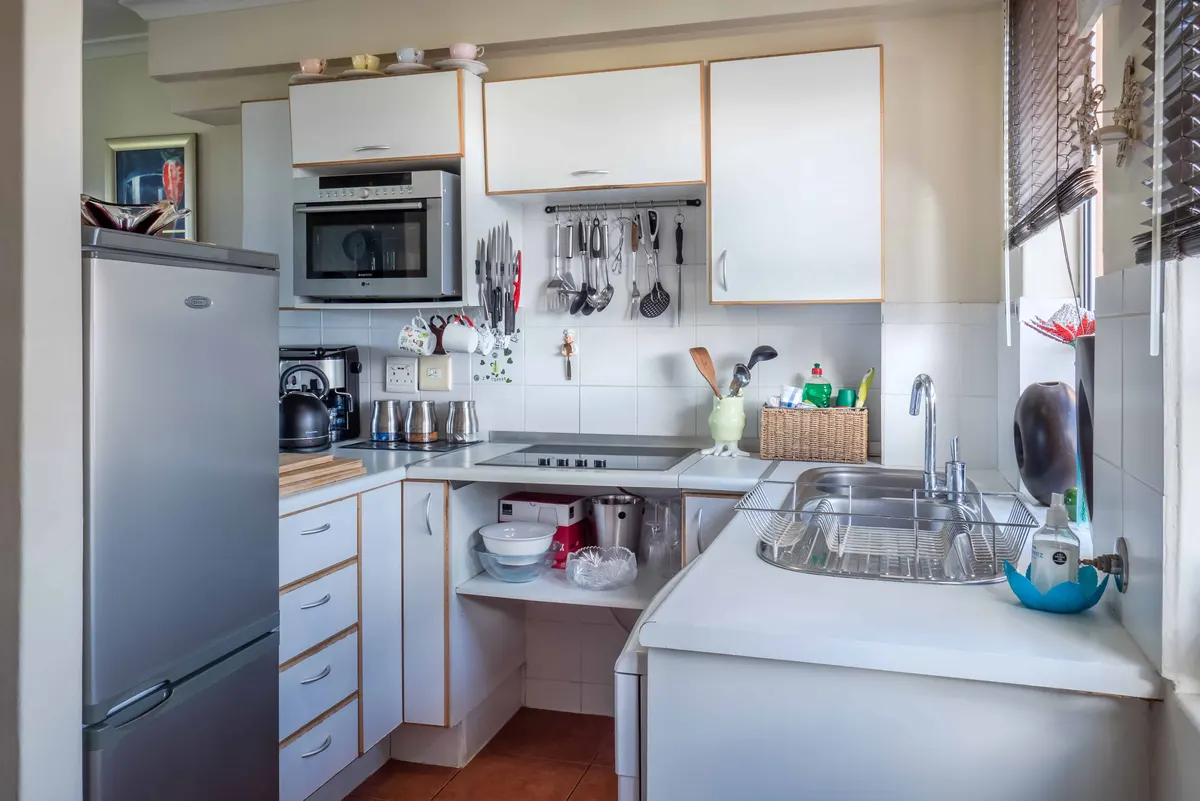
The old filter will be inside a long plastic tube in the rear right corner of the refrigerator’s interior. If the filter is stuck, our guide on how to get a water filter unstuck can help. Most water filters are found in the grille at the refrigerator bottom or the top, upper-right corner of the refrigerator interior.
A few versions, typically older ones, have the filter on the water supply line at the outside of the refrigerator back. Find the filter at the corner of your refrigerator.
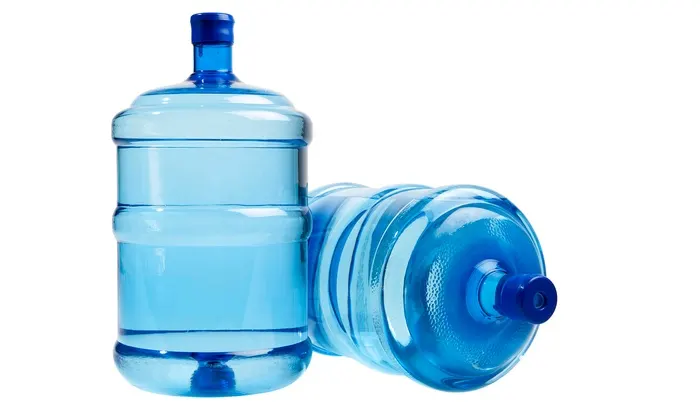
The filter will look like a round tube, approximately 3 to 4 inches (about 10 cm) across.
If you don’t see the filter in either of these two places, you might want to search your owner’s manual or look up the model number online and figure out the precise position before taking the device off the wall and look at the refrigerator’s back.
Step 3. Push And Pull On The Existing Filter
Quarter turn your filter — turn the water filter one quarter turn to the left to remove the filter that’s usually aligned up vertically, pull out the water filter and remove the lid if your model has one.
Reminder: check that the lid is on the latest filter. If it’s still far from getting loose, place a piece of cloth over the water filter cap (this helps protect against damage to the cap) and lock the water filter cap using standard pliers and turn the cap a quarter turn.
Unplug the fridge and remove the grille at the bottom, follow the instructions in your installation guide and by cutting the grille at the bottom you’ll have better access to the filter cap, making it more straightforward for you to understand the device.
Important: Applying too much pressure or force to the water filter could cause it to break and damage the water system internally.
For push-button models, pull the filter for water straight out, locate the grille button at the middle, press the button until the water filter gets disconnected from the filter assembly, and take the water filter off.
Still stuck? Click and hold the button during the ejection and press the filter firmly back in, then press the button again.
Click the button tightly, check and see if the valve has passed when the filter has moved, press the filter firmly back in and then press the button.
You would have improved access to the clogged filter by removing the rack underneath.
Reminder: don’t forget to remove the filter cap at the filter end.
Step 4. Remove The Old Existing Filter
If your particular water filter removal method doesn’t seem instantly apparent, you might want to check your user manual or look up your model number online to figure out how to uninstall the device.
That mentioned, there are three general methods of removal to eliminate a water filter: push-in, twist-in, and in-line. If you prefer an inline option, check out our universal inline refrigerator water filter guide.
You can remove push-in filters by pushing the eject button or by twisting the filter cap off and attach the arrows to mount the latest filter, snap it into position by rotating the screen clockwise then move it in before the eject button shows up.
You may swap twist-in filters by twisting out the old tube, cutting the lid, placing the cover on the new filter, and twisting the new one in.
In-line filters are those found on the refrigerator’s back, hooked up to the water supply line coming in. Any systems will be easy to uninstall and will easily twist out like the twist-in filters, and others will be more challenging because they allow a section of the tubing to be removable.
As a consequence, you may want to substitute these filters with a professional.
Whatever type of filter you’ve, it’s a good idea to write down your old filter’s make and model number before you throw it away. Understanding the different water filter cartridge types will help you pick the right replacement so you can get the right replacement if you haven’t already bought one.
Step 5. Reach To Your New Filter And Unpack It Carefully
Before moving, you took the time to pack up your water filter carefully. To protect the products you might have used bubble wrap, padding, or other such materials as you may have even opted to get help from your moving and storage company to make sure they were correctly packed.
You’ll want to get unpacked and settled as quickly as possible now that you’ve a new water filter but you had taken the time to mark all the boxes or have used unique tape to tag sensitive products with such. Place the package on a dense mattress pad or blanket to protect your flooring, whether you’ve hardwood or laminate.
Carefully open the box, bearing in mind that the water filter may have moved during the transfer and could be in slightly different places than when you initially packed it. You may use scissors to help open the box, only take particular caution to cut the middle seam off.
Remove packaging materials slowly. Remove them slowly if you used foam peanuts, air pads, or other such things on the top layer before sealing the box and take your water filter out, individually remove it from the box.
Unwrap the bubble wrap or other materials in which you wrap it.
Inspect the item for damages, carefully check for possible damages that may have occurred during the move. If you discover any damage that moving insurance covers, take a picture of it.
Place the item where it belongs by putting it on a rack, showcase, or other position to go.
Step 6. Clear The Air On The Water Filter Line
The device can’t pull water into the air purification system when there’s air between the intake line and the pump. Removing air from a water line requires priming water through the device to force out the air.
You need to turn off the water supply system before you can deal with air bubbles. In so doing, you can clear the rest of the water in the order when there’s no more water.
From the very bottom point of the house and upward, work from there to start the process of clearing the water from your primary system.
Starting with whichever faucet is at the lowest point in your house, open the taps to run the water out. Set up the route vertically and run every faucet so all water drains.
After all the water runs through the system it’s necessary to close the faucet at the lowest point in the building. However, leave the remaining faucets open.
The remaining faucets near the refrigerator intake must be left running, the water will start gurgling at first through them. Don’t be alarmed, as gurgling is normal because of what you did with the system the water will start flowing smoothly from all the faucets after a short time.
This failure to push your water system is an indication that it’s now free of bubbles, all remaining taps can now get turned off in the building.
While this solution is undoubtedly easy, it can be very costly to run so much water through your system if you live in a dry region. Using these same steps, place containers under each faucet if you still want to clear any air bubble in your water filter to save any escaping water.
The water collected can be used to irrigate the car or water plants.
Then push the water dispenser on your fridge for one to two minutes to flush any remaining air from the refrigerator water line.
To clear the air bubble inside the waterline, you must flush the water system. Due to a weak water link, air can reach the waterline over time.
If you live in a dry region and want to conserve water during the air-clearing process, place containers under each faucet to catch the escaping water. You can use the collected water for watering plants or washing your car.
Step 7. Clean The Water Filter Before Installing
It may seem unnecessary to change the refrigerator filter, but it’s essential to keep your most important kitchen appliance longevity.
There’s a slender filter on the back and top of the refrigerator with modern refrigerators. This filter tends to sustain the broader filters and lines seen on the refrigerator rim, see the filter as well.
A release button should be available. To pull the filter out of the fridge, turn it left.
Flush the whole crude from the tank and wash it in alcohol, vinegar, or soap. For more detailed filter cleaning methods, check our guide on how to clean a carbon water filter.
Let it out and dry for about an hour after only 15 minutes. Replace the filter in its cell and make sure the threaded openings and lines are secured.
Step 8. Install The New Water Filter
For push-in filters: Press the eject button to remove the old filter and detach the lid. You’re going to use the old filter lid again.
Put a filter lid on the new filter so that the lid is correctly aligned to the screen.
Slide the new filter into the position from which the old filter was removed, if the eject button pops up you’ll know it’s in place.
For quarter-turn filters: Give the turn off in counter-clock direction for a quarter. If it bends too hard, use a wrench when the filter cap has been placed vertically, pull, and reserve the cap.
On the new filter, position the lid. Switch the cap in the clockwise direction until the filter is returned to its position.
For in-line filters: You’ll need copper or plastic tubing cutters, steel wool or a file, and a bucket. The process of change can be more complicated because of the location of an in-line filter and its links to the waterline.
Turn off the cold water supply and locate an accessible section of tubing between the shut-off valve and refrigerator. Cut the tubing squarely to prevent leaks, and where appropriate, smooth corners with steel wool or a file.
Remove the end cap, mount the tubing on the new filter, close the end cap, and turn the water supply on. Hold the filter over a bucket and check for leaks at both ends of the pipe.
Step 9. Flush The Whole System
Take a large container to the refrigerator’s water dispenser. This could be a large measuring cup, a large drinking cup, or anything big enough to fit under the dispenser.
Place it under the dispenser and press to start filling. The number of times the container needs to be filled depends on the type of container that you use.
For example, if a 4-cup measuring cup is used, you must fill it up to 1 gallon four times. Remember: the fifth equal four cups with one gallon equals four thirds.
Remove the water from the sink. This water can be used for watering any plant as small bits of carbon won’t hurt the plants.
Repeat the filling and discarding process until you’ve flushed the full 3 to 5 gallons. Check your owner’s manual for specific flushing directions, as instructions can vary slightly between models.
The owner’s manual is the safest way to guarantee proper compliance with all installation and setup processes.
Step 10. Restart The Filter Timer
We often wonder why someone’s more cooling filter is still on after the replacement filter is installed and often a client wants to know whether the filter is faulty. The water filter likelihood to be defective is very slim but the main reason is that the light of change should be reset.
This light is usually a timer to remind you every 3 or 6 months to change your filter but some filter lights measure water flow and recommend a substitute filter. If you own a different brand, see our guide on changing the water filter on a GE refrigerator or how to replace an LG refrigerator water filter.
Make sure your filter is mounted correctly and a secure seal exists while checking your filter or filter receiver always for leaks or cracks. If the filter doesn’t feel closed, remove the filter and start over.
When replacing the filter, very little power should be used but don’t cut the threads, please, as all other filters don’t bind directly with the receiver when you strip threads installing the filter.
You must say to your refrigerator that there’s a new filter once you’ve installed your filter.
Note when the time to replace a filter has come it’s a light recall (similar to a 6-month timer) as some coolers change brightness on a time basis while others turn based on the water flow rate.
Hold down the reset button until the light indicator flashes and resets. The color guide works as follows:
- Green shows the filter is new and needs no change
- Yellow shows the filter is approximately halfway through its expected life
- Red shows you need to change the filter
Why Do You Filter Water?
Firstly, let’s try to explain where we find filters. Your Frigidaire water filter will be in the grille, in the upper corner at the refrigerator bottom, and also within the latter compartment.
Some are mounted externally in refrigerators (in-line filters) that don’t have filters installed in.
But most Frigidaire refrigerators have only filters located in the grille at the refrigerator base or in the refrigerator top right corner. Usually, a grille water filter is slender and installed by sliding it right at the bottom of the fridge into a compartment near the grille.
The button helps it to fit in with the refrigerator. As part of the refrigerator architecture, no matter where you’re there’s a knob or button that helps you to remove the filter quickly.
You might have realized by now that the water running into your waterline isn’t always safe. This is why direct drinking of tap water isn’t advisable. Learn what filtered water is and how it protects your family.
However, since tap water typically includes microorganisms that may endanger your health, it may be dangerous to run tap water directly to the ice maker or water dispenser throughout your refrigerator.
But that’s where the water filter comes in. Refrigerators with water and ice dispensers come with water filters to prevent infections and poisoning due to chemical substances and harmful microbes. If you ever wonder whether you can skip the filter, read can you use your refrigerator without the water filter.
Such water filters are responsible for eliminating pollutants from the water running from the sink to the dispensers of the refrigerator. A chlorine water filter is especially effective at removing chemical taste and odor. That said, the thickness of refrigerator water filters differs too, and there are others with low micron scores equipped to withstand microscopic bacteria and pollutants. A sediment water filter can handle larger particles effectively.
So, you may want to consider having water filters with smaller micron scores for your refrigerator. You might also want to look into refrigerator water filters that remove fluoride or browse options for Maytag refrigerators and KitchenAid fridges.
Frequently Asked Questions
Every six months is the standard, or sooner if you notice the taste or smell changing. Most filters handle 200 to 300 gallons, and once you push past that capacity, filtration quality drops off noticeably.
Check the grille at the bottom of the fridge first — that's where most Frigidaire models put it. If it's not there, look in the upper-right corner inside the fridge. Some older models have it on the water supply line at the back of the unit.
Usually not. Push-in filters pop out with a button press, and twist-in filters turn by hand. The only exception is in-line filters on the back of the fridge, which might require pliers or tube cutters.
That's completely normal. New filters have loose carbon particles that need flushing out. Run 3 to 5 gallons through the dispenser before drinking. The particles are harmless, just unpleasant tasting. If the off-taste sticks around after flushing, make sure the filter is seated properly.
Final Thoughts
Replacing your Frigidaire water filter is one of those tasks that sounds more complicated than it actually is. Once you've done it once, the whole process takes maybe 10 to 15 minutes.
The key steps people skip: flushing 3 to 5 gallons through the new filter before drinking from it, and making sure the filter clicks securely into place. A loose filter can cause leaks or bypass the filtration entirely.
Stick to the six-month replacement schedule. A worn-out filter doesn't just stop working — it can actually release trapped contaminants back into your water. Set a reminder on your phone and you'll never have to think about it.